1 Aug 2011

Fruit Cream Salad


The simple is often the best. That phrase is so true, and applies well to this creamy dreamy fruit salad which is so simple yet so delioucious. Hot summer days requires something easy, light, cool and fresh and I tell you, you would not come closer to these keywords than this fruit cream salad.


All you need is a bowl of your favorite fruit cut in cubes, a little whipping cream and a handful of sugar. The mango and pomegranate adds an exotic flavor to this salad which makes the flavors unique.


I n g r e d i e n t s


2 bananas, ripe
1 apple
1 pear
1 nectarine/peach
1 mango
1/2 pomegranate
1 grapes green, bunch of


2,5 - 3 dl cream
0,5 dl sugar


Cut the fruit in cubes and combine


Whip the cream and add sugar


1. Cut the fruit in small cubes and mix in a large bowl
2. Whip the cream until soft peaks forms, add the sugar and combine together
3. Add the cream in fruit bowl and mix until all fruit is covered with cream
4. TRansfer into a clean bowl
5. Chill in refrigerator until served


This must be the favorite dessert at home, it's gone with the wind everytime! Garnish with some walnuts and pomegranates for a beautiful finish.

14 Jun 2011

Hello Kitty Cake & Cupcakes for Birthday Party


Hello Kitty theme was a must when my youngest niece had her first birthday last friday. Her mom had asked me to make a Hello kitty cake and I supplied it with a batch of sweet Hello kitty cupcakes with pink butter cream frosting. The cupcakes was inspired and the recipe was taken from my favorite baking blog Passion4baking!

What lovely cupcakes! I have never succeed with cupcakes really, something which is a bit strange since I am pretty good at baking other goodies. Maybe I did once some years ago, but not that I can remember lately. What actually happens to my cupcakes is that they are nice and soft when they come right out of the oven, but when they have set some hours they starts getting dry and next day they are totally dry.

That is why I am not a big fan of baking cupcakes even though they are the hottest stuff in baking world at the moment. But my niece had birthday and I just had to bake some cupcakes, I had very little time and I went straight into passion4baking, noted down her latest cupcakes recipe which is from the Magnolia bakery. I love her blog, she is so inspiring and she makes the most delicious mouth watering cakes! And what I love the most about this lady is her personality, she is such a wonderful kind hearted human being!


I had to add a little more butter, but oh my goodness, what lovely soft and moist cupcakes! They had a great texture and even the next day (I stored them in refrigerator) they were totally soft like the first day. I will definitely bake these cupcakes often and recommend them highly. If you want to follow step-by-step pictures, you can go to Passion4baking and search for Magnolia cupcakes (the recipe there is in norwegian).

I n g r e d i e n t s


185 g self-raising flour *
150 g allpurpose flour
300 g butter, soft
450 g sugar
4 eggs, large, room temperated
2,5 dl milk
1/2 - 1 tbsp vanilla extract / essence / powder


* (or mix 2 tsp baking powder, 1/2 ts baking soda and 1/4 tsp salt into 175 g plain flour - mix until well combined)


1. Whisk the softened butter using a electric mixer until it becomes fluffy
2. Add the sugar and mix it for about 3-4 minutes on high speed until creamy and fluffy
3. Add eggs, one at a time and mix about 1-2 minutes on medium-low speed between each until it becomes nice and fluffy
4. Add vanilla extract or vanilla sugar and mix until combined
5. Sieve the flours two times and add the flour and milk alternately in two times preferabely folding in with a spatula for softer cupcakes (you can add chopped chocolate etc if you wish to)
6. Fill the cupcake forms about 2/3 full


Bake in a moderately hot oven at 175 C for about 15-25 minutes until they become slightly golden and firm to the touch (Start checking them after 15 minutes, sometimes they bakes fast)


Magnolia's Vanilla Buttercream Frosting


226 g butter, soft
10 dl icing sugar
2,5 dl milk
1-2 tbsp vanilla extract/essense/powder


1. Add softened butter and 1/4 part of the icing sugar into a bowl and mix using an electric mixer
2. While it is mixing, add gradually milk little by little alternately with the rest of icing sugar
3. Mix for about 10 minutes, until it becomes pale in color and fluffy
4. Add vanilla extract or vanilla powder, mix a little more and add coloring of choice

Pipe as desired on cooled cupcakes


The Hello kitty cake is a two layered cream cake consisting of sponge cake layered with whipped vanilla cream and whipped cream along with strawberry jam. The cake was baked in a large flat baking pan and then cutted into the shape of Hello kitty using a template. The rolled fondant was made with white syrup, gelatine powder and icing sugar. I did not have crisco fat and glycerine available, but I guess they would make the sugar paste more smooth and elastic. The eyes and whiskers was colored with a mixture of red, green and blue color. It took me about an hour to turn the white sugar paste into pure black color (the color was gradually turning darker from muddy to brown, dark brown to black). The ribbon is made of marzipan colored with pink.


The color bled a little and made red marks on the cake beside the eye which kind of ruined the cake.


Note! These supercute Hello Kitty cupcake wrappers can be found at this website for free print-outs.

11 Apr 2011

Chocolate Cake with After Eight Bars


This is not a piece of chocolate cake, it is a slice of pure exclusive goodness. This must be the ultimate treat for a chocolate-lover. Biting your teeth in a super fluffy and moist chocolatey chocolate cake covered with chocolate icing and After Eight bars. Could you think of anything better?


This chocolate cake was a "present" for my friend who is pregnant in 8th month. I was going to meet her after a while and asked her what she was craving for. "Cheesecake" she said with a lot of entusiams and excitement, but I had not the ingredients available so I asked her to make another choice and there she was "Chocolate Cake!!! I want chocolate cake".

I know it is easier to use the electric mixer, but believe me, you would want to put the extra effort in making the cake by hand because it will benefit and result in a extra fluffy and moist cake which you wont get if you use a electric mixer. The thing is that a electric mixer can over-mix ingredients such as eggs and result in a more compact cake.


I n g r e d i e n t s


2 tbsp cocoa powder
2 tbsp hot water
2 eggs, large (at room temperature)
100 g butter or margarine (at room temperature)
125 g sugar
90 g allpurpose flour
1,5 tsp baking powder
1 tbsp water (semi-cold)
1 tsp vanilla sugar or essence


1) Dissolve the cocoa in the water and leave to cool
2) Cream the butter or margarine and sugar together until light and fluffy and pale in color
3) Beat in eggs one at a time, followed by the cocoa mixture
4) In a small bowl mix 1 tbsp water with vanilla sugar or essence
5) Sift in the flour and fold in, followed by the vanilla mixture)
6) Pour into the prepared tin


Bake at 175C on the lowest slot for aout 30-40 minutes until firm to the touch and the cake pin comes out clean (start checking the cake after 25 minutes)


Grease and dust a springform about 18-20 cm with baking sheet on bottom


Mix 2 tbsp cocoa powder with 2 tbsp hot water in a small bowl and let cool


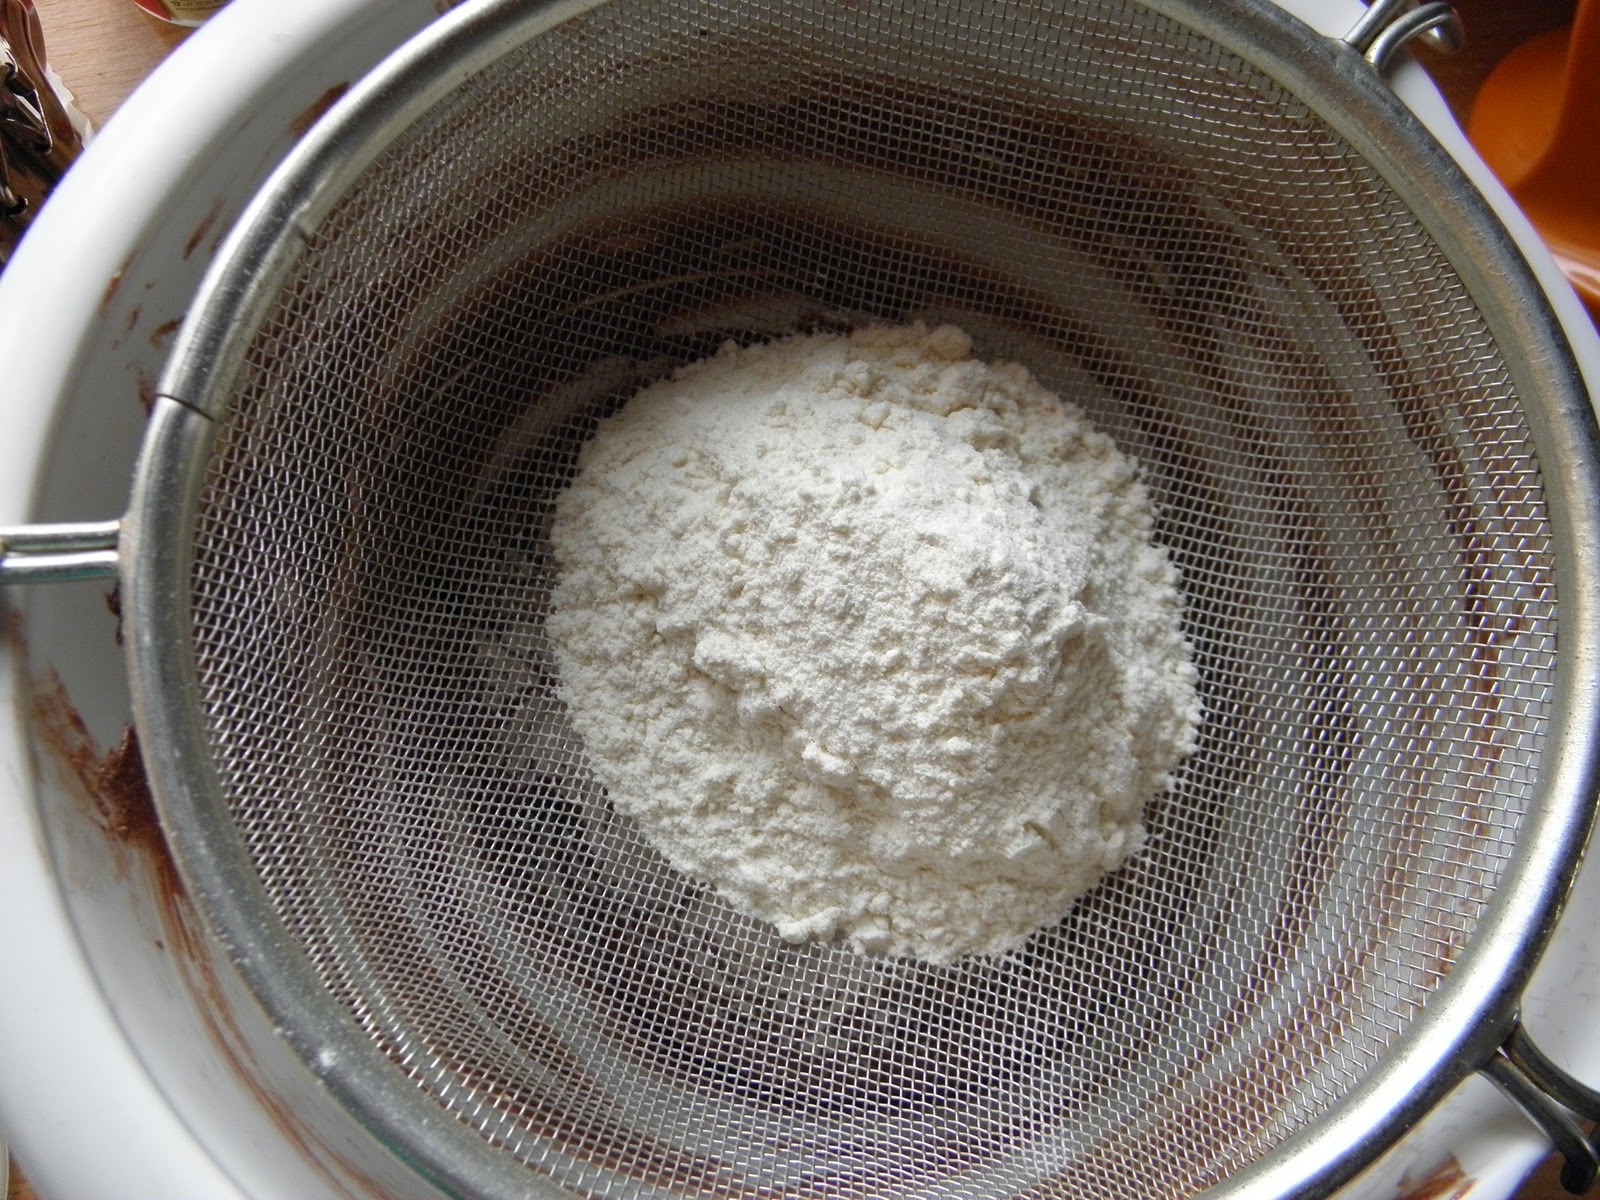
In a medum sized bowl combine sifted flour and baking powder


In a large bowl mix room temperated butter and sugar


Beat the butter and sugar until pale in color and fluffy with a wooden spoon by hands (15 minutes) or with a electric mixer on medium-high speed (5 minutes)


Add one beaten egg and beat for a few seconds until well-mixed


Add half of the cocoa mixture, beat for a few more seconds


Repeat the process (second beaten egg followed by cocoa mixture) once again


Carefully sift in the flour mixture


Followed by the vanilla mixture (In a small bowl add 1 tbsp water and mix it with 1 tsp vanilla sugar or 1 tsp vanilla essense)


Fold in using a spatula (DO NOT use the el-mixer!) with large movements until just combined


Pour in prepared tin and bake at 175C on the lowest slot in the oven for about 30-40 minutes


Let cool in the tin for some time and turn on a plate


ICING


I n g r e d i e n t s


60 g butter
2-3 tbsp cocoa powder
2 tsp vanilla sugar
200-250 g icing sugar
2 tsp coffee
4 tbsp hot water


1. Mix coffee with hot water
2. Melt the butter, add cocoa powder and vanilla sugar
3. Add icing sugar and mix with electric mixer until you get crumb-like mass
4. Add coffee, one tablespoon at time until you get a thick and smooth icing (do not use all coffee if not necessary)


In a medium sized bowl add melted butter, cocoa powder and vanilla sugar


Add the icing sugar


Mix using a electric mixer until you get crumb-like mass


Add coffee little by little while mixing until you get a thick and smooth glaze, butter the icing on the cooled cake and add garnish as desired, let icing set a little


Garnish as desired. I garnished with some almond shavings all around on the cake and piped some swirls on top and added halfed After Eight Mint bars

ENJOY!


4 Apr 2011

Chocolate Oat Balls


Sometimes the simple is best. And this applies well to these chocolate oat balls which are ready in no time and enjoyed by both, kids and adults. Not to mention that they look lovely on the table aslo. You can regulate the flavors by adding extracts of your choice and roll them in whatever garnish you like; coconut, pearl sugar, chopped almonds or other nuts are a few to mention.


Chocolate balls takes me back to my childhood when my mom used to make these with puffed rice and I just loved them. I also experimented a lot with these in my teenages since they were so easy to make.


Usually everyone got the main ingredients at home and I do not think there are many homes that are known for running out of oatmeal really. All you got to do is to ix and add and mix again for then to roll them out to even sized balls and roll them in garnishing of choice.


There are a variation of recipes on chocolate oat balls, but all of them takes base in the same ingredients. This recipe was taken from a swedish baking book which I ordered over the net called "Sju sorters kakor" which means "Seven sorts of cakes".


I do not make these too often as I am more interested in baking cakes and yeasted stuff. But I guess a late evening, almost tea-time and no goodies in the drawers and cupboards makes it obvious. Make a lot of them when you first have put your hands in it, they go fast!


These tasted like cappucino balls with the coffee added to it. And I enjoyed them alot with my cup of tea. But today I had some bought walnut baklava with a cup of coffee and oh, how much I love baklava <3


Makes about 30

I n g r e d i e n t s


100 g butter or margarine
1 dl sugar
1 tbsp vanilla sugar
2-3 tbsp cocoa powder
3-4 dl oatmeal
3-4 tbsp coffee, cold


1 dl garnish (shredded coconut, chopped nuts, pearl sugar, chocolate)


1. Beat butter, sugar and vanilla sugar until fluffy and pale in color
2. Add the cocoa powder
3. Add the oatmeal and coffee
4. Mix until all ingredients are blended well
5. Form to small equal sized balls (about 3 cm) and roll them in
garnish of choice
6. Keep them cool in the fridge

3 Apr 2011

Troika Cake De Luxe


I love the Troika chocolate bar. For those of you who do not know what Troika is, it is a chocolate bar sold here in Norway which consist of a layer of marzipan, a layer of raspberry jelly and a layer of chocolate truffle covered with dark chocolate. This chocolate is delicious and so is the cake which is almost a copy of the popular and loved chocolate. This recipe, Troika Cake Deluxe, is adapted from Passion4Baking and was a little different than the first recipe I tried years ago.


Usually everyone are at home on weekends and as we were having guests also, I decided to give Troika cake a go and I was really up for trying a new and different recipe on this cake which I found on the blog, Passion4Baking. I remember to have made this cake a year ago, I do not really remember exactly, but it had a layer of almonds as well and was covered with chocolate. This recipe was a bit different with a chocolate mousse cake at the bottom and ended with chocolate truffle.


The cake does not really take long to make. The only thing that is going in the oven is the chocolate mousse bottom and you can prepare the rest of layers meanwhile and just line the layers at the end and let cool in fridge until it is going to be served.


The cake was gone minutes after it was ready and my older brother who loves Troika chocolate, ate large parts of it. Troika cake is a cake that is very difficult to not love as the main ingredient is chocolate, but the marzipan added makes it a bit "adult cake" which goes perfect to coffee.


The only thing I got a bit sceptical too was the amount of lemon juice added to the jelly, which actually made it way too sour and acidic in flavor to my taste. Next time, I will drop the lemon or add a very few drops of it. So if you are not a fan of a tangy flavor, you should be careful with adding it.


I divided the recipe in half, but still used a large baking pan so it kind of became a bit short in height, but it is all up to you if you want to use a small or large baking form. And you may use strawberry jelly instead of raspberry jelly, something I used since I did not have raspberry jelly available.


For step-by-step instructions with photos, see Passion4Baking (PS! It is in norwegian)

I n g r e d i e n t s


Chocolate Mousse Bottom


113 g chocolate (dark or any type you like)
75 g sugar
6 egg, large
3 lemon, drops of


Cover a baking pan about 30 x 30 cm or 26 cm spring form with a baking sheet


1. Melt the chocolate in microwave or over water bath, set aside and let cool
2. Separate the egg whites and egg plums
3. Beat egg plums and sugar (let 2 tbsp sugar for the meringue)for about 5-8 minutes until you get a very thick and fluffy eggnog
4. Add the melted chocolate and mix for a few more minutes until well blended
5. Whisk the egg whites along with 2 tbsp sugar and a few lemon drops for a few minutes (do not whisk for too long) until they start getting firm
6. With a spatula, fold the egg whites inside the eggnog mixture and mix until blended


Bake in the middle of oven at 175C for about 10-15 minutes until firm to touch


Let the mousse cake rest while you roll the marzipan


Marzipan Layer


300-400 g marzipan


1. Roll out a suitably thick layer of marzipan that is the same size of your chocolate mousse bottom


Jelly Layer


2 packets jelly, rapsberry or strawberry
1,5 dl water, boiling hot
0,5 dl lemon juice, freshly pressed (cut down the amount to your taste)
1 tbsp glucose (optional)


1. Boil water and add the packets of jelly, mix and add the lemon juice and glucose
2. Mix it well and set aside until it starts to get a little firm in consistency


Chocolate Truffle Cream


227 g chocolate (dark or according to taste)
5 dl cream
1 tsp vanilla extract or essense


1. Add the cream and chocolate in a sauce pan and warm it up until the chocolate melts (do not boil!)
2. Whisk, remove from heat and let cool in the fridge until cool
3. Whisk as normal until you get a firm whipping cream


LAYERING


1. The chocolate mousse bottom
2. Cover with rolled marzipan
3. Spread the jelly
4. Finish with the chocolate truffle cream


Let cool in fridge for atleast 30 minutes